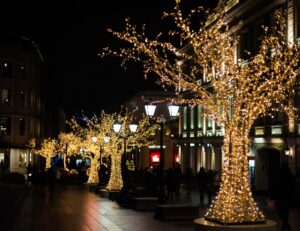
Hanging Christmas lights outside your home is one of the most challenging things to do – either you love or hate it. If you’re going to be hanging the outdoor lights for the first time, you have to be cautious. It is never that easy.
If you plan to install Christmas lights this festive season, you are on the right page. Here is what you should do when installing the string lights for decoration.
Step 1: Safety first
When you plan to install outdoor lights, you will need a stable ladder to climb to the roof and trees. That means you have to ensure you are safe, always making sure the ladder you are using is in a solid-state.
When using the ladder, ensure you can reach where you are installing the lights without stepping on the topmost steps.
You should also have someone on the ground to hold the ladder for you just in case you trip. Also, don’t forget to choose your ladder wisely. Avoid metal ladders because they conduct electricity which is not good when installing lights at home.
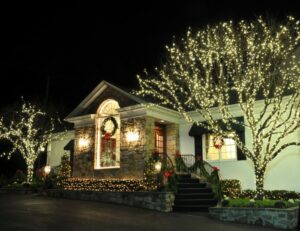
Step 2: Take a picture of your home
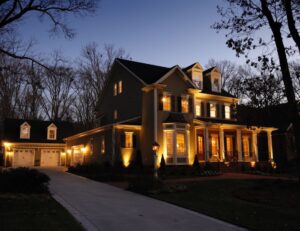
Do you want to find out how your house will look when you view it from far with the lights on? Take a picture of the front of the house from a distance. Viewing your house from the perspective of those driving to your home is the best way to choose the right Christmas bulbs and décor design.
This way, it is also easy to determine the kind of Christmas lights you will hang on the windows, doors, fascia board, roof, and around the backyard. Everywhere you choose to install the lights, you have to know which bulbs are the best fits.
Step 3: Measure where to hang the lights
Once you know where you’ll be hanging the string lights, measure the height and width you expect the light strands will cover. You don’t have to climb the roof of your house to measure the width; you can do that on the ground. Measure the width of the house at the base.
By measuring the distance, you can easily estimate how many feet and strands of light you will need for the house.
Step 4: Choose the right time to install the lights
The best time to hang Christmas lights is during the winter day or mid-morning. Ensure there is plenty of sunlight to get a clear vision of where you are mounting the clips and string lights.
If you are installing the lights on the roofline, you want to be careful not to step on the shingles. Also, climbing your roof on a hot sunny day can result in damage to the roofing material. Shingles are more likely to break in hot weather.
Step 5: Inspect your light bulbs
Before installing the light bulbs on the roof or trees, you want to ensure they are all working optimally. Lay out the bulbs in a garage or a dry place and untangle all of them from the strings.
Test to find out which of the bulbs are dim or burnt out. Do this a week before installing the lights so that you have enough time.
You should also ensure the Christmas light bulbs you are installing are all weatherproof. This means they are safe for outdoor use and can last throughout the festive period. If you buy lights covered in shades, you should also ensure the material is suitable for outdoor use and won’t be damaged by other weather elements.
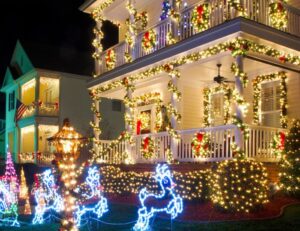
Step 6: Buy plastic light clips only
Plastic clips are the best you can have if you plan to install Christmas lights in your home. Plastic clips are not only inexpensive but also helps you save time when installing lights on your roof.
They don’t damage your roof in any way. You don’t need nails and staples when using plastic clips. Additionally, they can hold any size of light strands, including larger C7, C9, and icicles.
Step 7: Start with the highest points
When you are ready to install the lights, start with the highest points on the roof and trees, go side-by-side, then go down. This will help you save time when coming down to pick more string lights to install on the roof.
Step 8: Mind the wires
Most light strings will always come with a foot or so for additional unlit wire. You can roll up and clip all the extra wire into one of the unused clips to ensure the light spacing is even.
As you install the string lights, take care to avoid damaging the wires. Secure the Christmas lights tightly without damaging the wires.
Also, avoid using staples and nails because they increase your chances of ruining the wires.
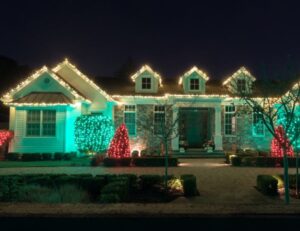
Step 9: Turn on the lights
Let the party begin! When you are done installing the lights, you can switch them on and enjoy the Christmas spirit it brings to your compound. To turn on the lights, plug the last end of the strand, the male end, into an outdoor extension cord.
Locate an outdoor outlet and plug the extension into it. Always ensure the outdoor outlet has a switch you can control. Some modern string lights come with automatic timers and apps you can use to switch on and off.
Bonus: You can reach out to professional Christmas light decorating service and have the job done hassle-free.
Final Thoughts
When you are getting ready for Christmas Day, ensure you spice up your home with lights and decorations. Follow these tips and steps to install Christmas lights on your roof, doors, and backyard to make your home the best place to spend this holiday.
You don’t have any idea how to install string lights on trees and roofs? Hire a professional installer to help. Professional light installers will custom your home décor and Christmas lights making your home feasible and glowing in the neighbourhood.